 |
 |
 |
 |
 |
 |
 |
 |
 Editor >
Home
Filter
Object
Crop
Tools
Editor >
Home
Filter
Object
Crop
Tools
The Object function of the Editor tool of PhotoScape allows you to paste pictures, text and shapes into existing photos. 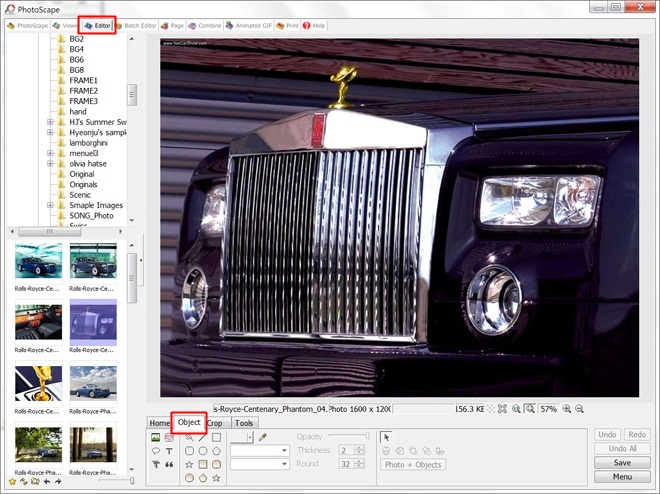
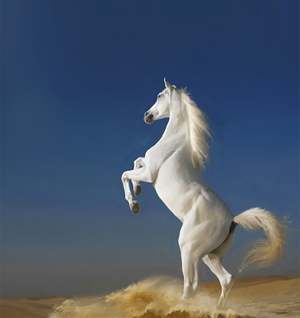
Photo Object
Play Video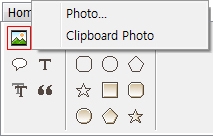
You can paste your own picture from your hard drive by selecting “Photo” or you can paste a picture from your clipboard (something that has been cut or copied from another document) by selecting Clipboard Photo or you can paste clipart by selecting one of the categories from the dropdown menu.
Icons
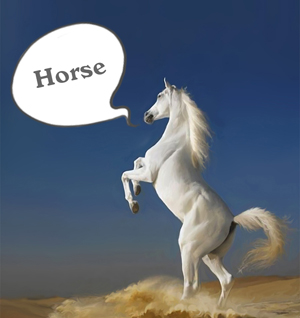
Play Video #1 #2 #3 Speech Balloon

 ►
►
Text

Play Video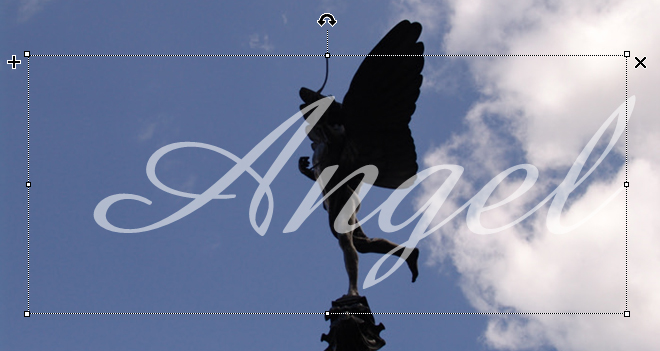
Click "EXIF" button to add exif information to the text box.
EXIF Format more...
Rich Text


Symbol

Play Video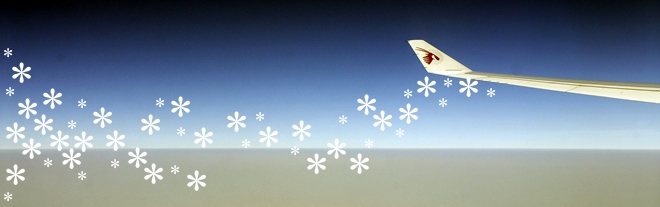
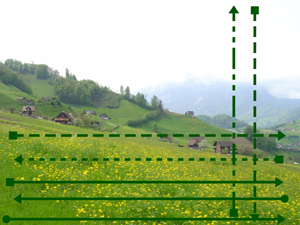
Line
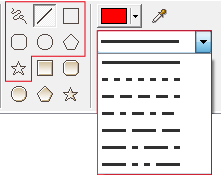
Box

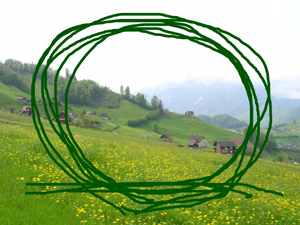
 Circle
 Polygon
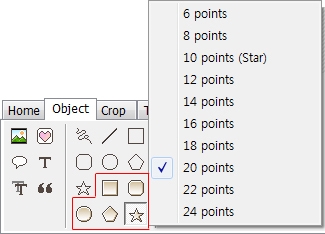
 Star
Star

 ►
►
To Duplicate an Object in a Photo
1. Click the cursor icon in the section furthest to the right in the lower tool bar.

2. Click on a pasted object in the photo.
3. Click the “+” icon next to the selected photo.
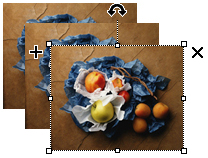
Note: You can also duplicate an object after it is selected by clicking the paper and plus sign icon in the section furthest to the right in the lower tool bar.
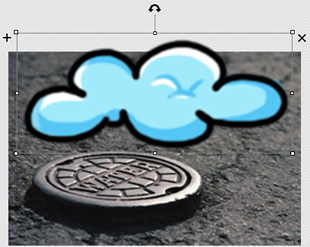
To delete an Object in a Photo
1. Click the cursor icon in the section furthest to the right in the lower tool bar. 2. Click on a pasted object in the photo.
3. Click the “x” icon next to the selected photo.
Note: You can also delete an object after it is selected by clicking the trash can icon in the section furthest to the right in the lower tool bar.
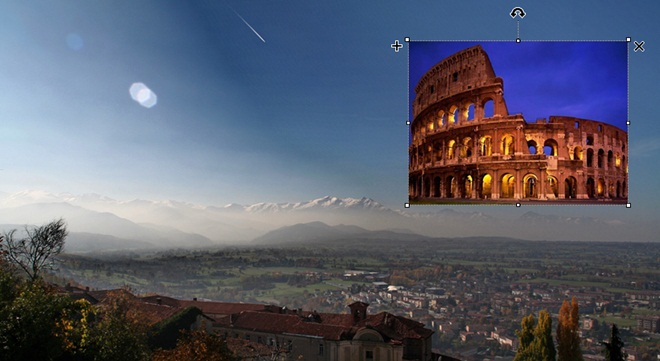
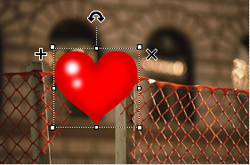
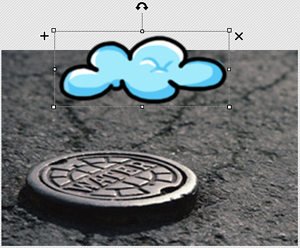
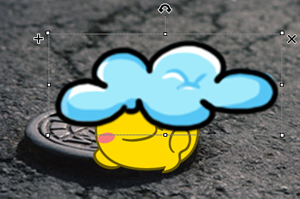
To Adjust the Size of an Object in a Photo
1. Click the cursor icon in the section furthest to the right in the lower tool bar. 2. Click on a pasted object in the photo.
3. Click and drag any of the squares along the edges of the selected object’s surrounding rectangle.
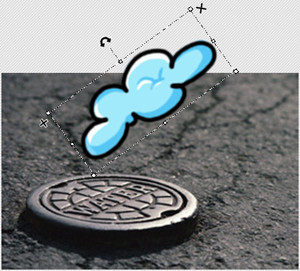
To Rotate an Object in a Photo
1. Click the cursor icon in the section furthest to the right in the lower tool bar. 2. Click on a pasted object in the photo.
3. Click and drag the upside-down U shaped arrow icon on the top of selected photo.
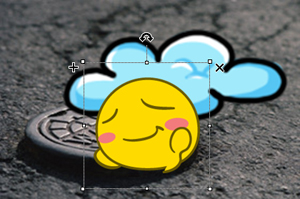
To Make an Object Appear Behind Other Objects
1. Click the cursor icon in the section furthest to the right in the lower tool bar. 2. Click on a pasted object in the photo.
3. Click on the circles in front of squares icon in the section furthest to the right in the lower tool bar.

To Make an Object Appear in Front of Other Objects
1. Click the cursor icon in the section furthest to the right in the lower tool bar. 2. Click on a pasted object in the photo.
3. Click on the square in front of circlesicon in the section furthest to the right in the lower tool bar.

To Adjust an Object’s Appearance
1. Click the cursor icon in the section furthest to the right in the lower tool bar. 2. Click on a pasted object in the photo.
3. Click on the pencil icon in the section furthest to the right in the lower tool bar.

To Permanently Paste an Object into a Photo
1. Click the cursor icon in the section furthest to the right in the lower tool bar. 2. Click on a pasted object in the photo.
3. Click on Photo+Objects in the section furthest to the right in the lower tool bar.

4. Click OK in the window that appears.
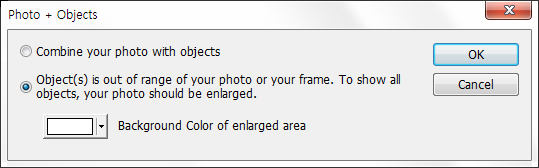
Note: If an object goes outside of the photo area, you can choose either to have the additional part of the object cropped off of the photo, or to have additional background area added onto the photo to accommodate the entire object. The Combine your photo bullet point will crop the object; the Object is out of range bullet point will add additional background area.